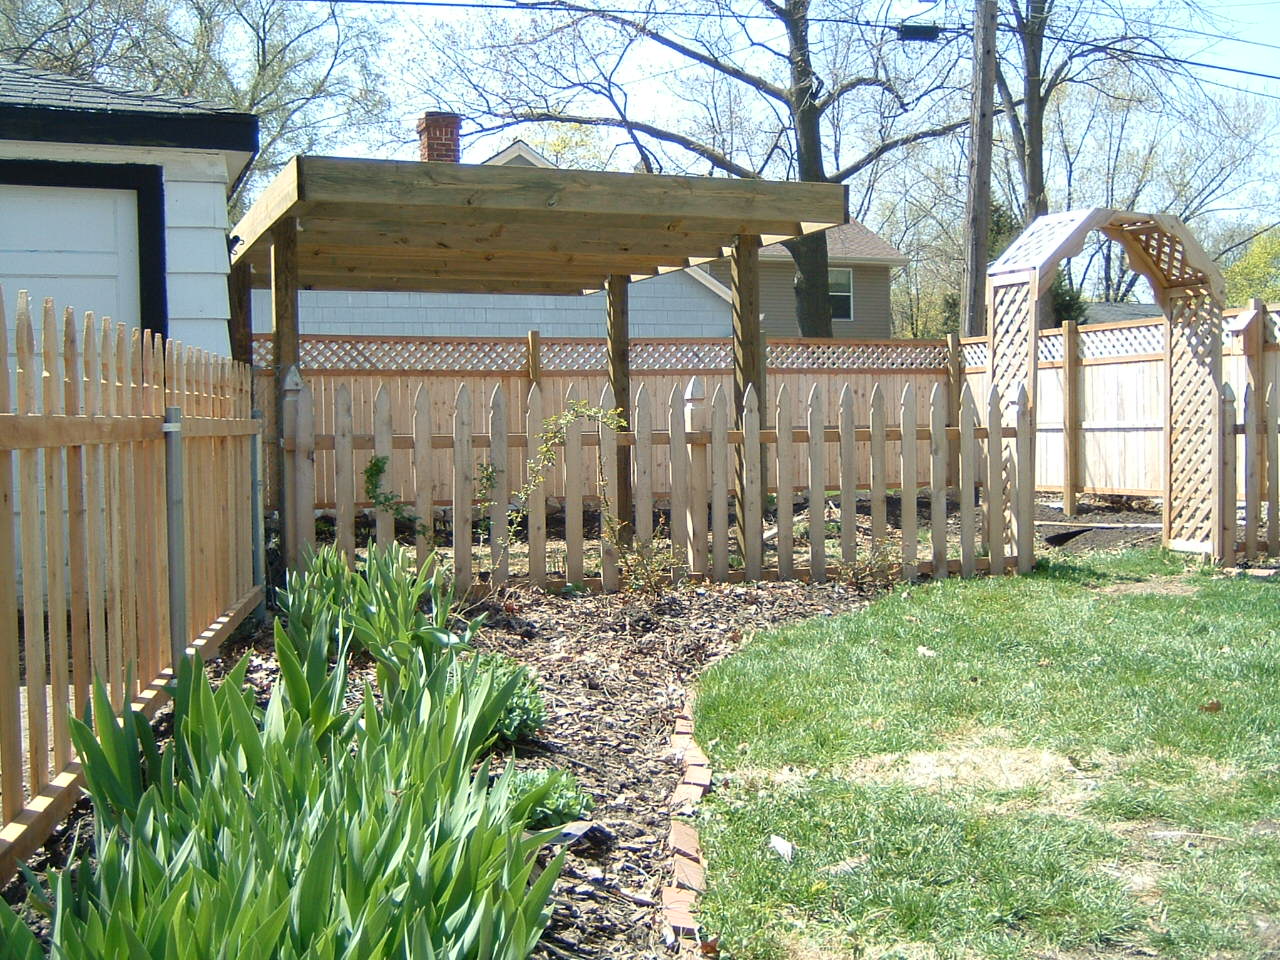
About seven - eight years ago, I planted the shrub roses in the back. They were small and tender, but not much to look at. In 2003 they were still quite small and spindly. There they are against the picket fence. Can you see them?

As they grew, they started to need support. When I was still in my apartment in the late 1990's, the house (a second empire style house) next door was being rennovated. That's not the house, just an example of second empire. Note the large curved windows on the first floor.

I was amazed to find beautiful arched storm windows in the trash. I asked the handyman doing the work and he said he was told to throw them out! At the time I didn't know what I what I would do with them but knew I couldn't let them be discarded. I plucked three from the dumpster, carefully broke out the glass (gasp!) and carted them up to my apartment. There they stayed, leaning up against the wall for a few years.
When I moved to this house, I still didn't know what I would do with them, but they came along and went into the garage.
At first the roses were small and didn't need much support. Here they are in 2003.

As the roses grew, I wanted to give them some structure, so I tacked some wire fencing to two of the frames and installed them to give the growing roses some support.

Well now, fast forward 5 or 6 years and by last year the roses are HUGE! Muscular and tall they have outgrown the supports.


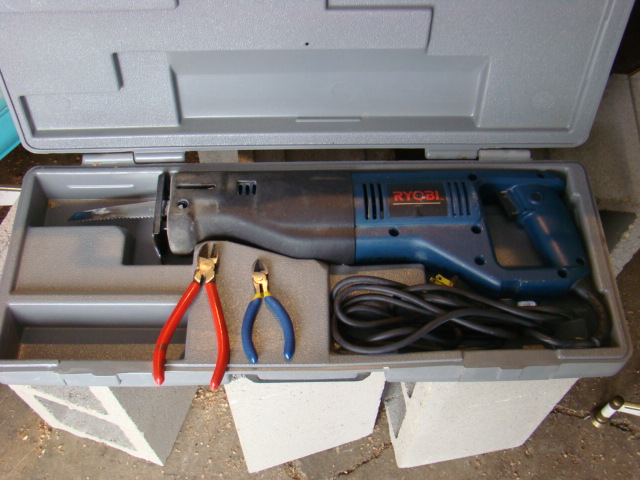
Now in deep of winter, I've decided to disentangle the plants from the support. Today I took care of it. Not what are normally thought of as "gardening tools."


They still need some pruning and cleanup but I'll wait to see when they are more budded out.
Until next time, Keep Digging & Eat Well!
As they grew, they started to need support. When I was still in my apartment in the late 1990's, the house (a second empire style house) next door was being rennovated. That's not the house, just an example of second empire. Note the large curved windows on the first floor.
I was amazed to find beautiful arched storm windows in the trash. I asked the handyman doing the work and he said he was told to throw them out! At the time I didn't know what I what I would do with them but knew I couldn't let them be discarded. I plucked three from the dumpster, carefully broke out the glass (gasp!) and carted them up to my apartment. There they stayed, leaning up against the wall for a few years.
When I moved to this house, I still didn't know what I would do with them, but they came along and went into the garage.
At first the roses were small and didn't need much support. Here they are in 2003.

As the roses grew, I wanted to give them some structure, so I tacked some wire fencing to two of the frames and installed them to give the growing roses some support.

Well now, fast forward 5 or 6 years and by last year the roses are HUGE! Muscular and tall they have outgrown the supports.


Underneath it all, the powerful canes have destroyed the frame! I'm pretty sure the roses don't need the support anymore.


Now in deep of winter, I've decided to disentangle the plants from the support. Today I took care of it. Not what are normally thought of as "gardening tools."
A bit of wire snipping, and cutting the wood, and the roses are released!

They still need some pruning and cleanup but I'll wait to see when they are more budded out.
Until next time, Keep Digging & Eat Well!
The Gastronomic Gardener
Garden blog http://amidwestgarden.blogspot.com/
Cooking blog http://ihopeyouarehungry.blogspot.com/
Twitter - www.twitter.com/DavidPOffutt